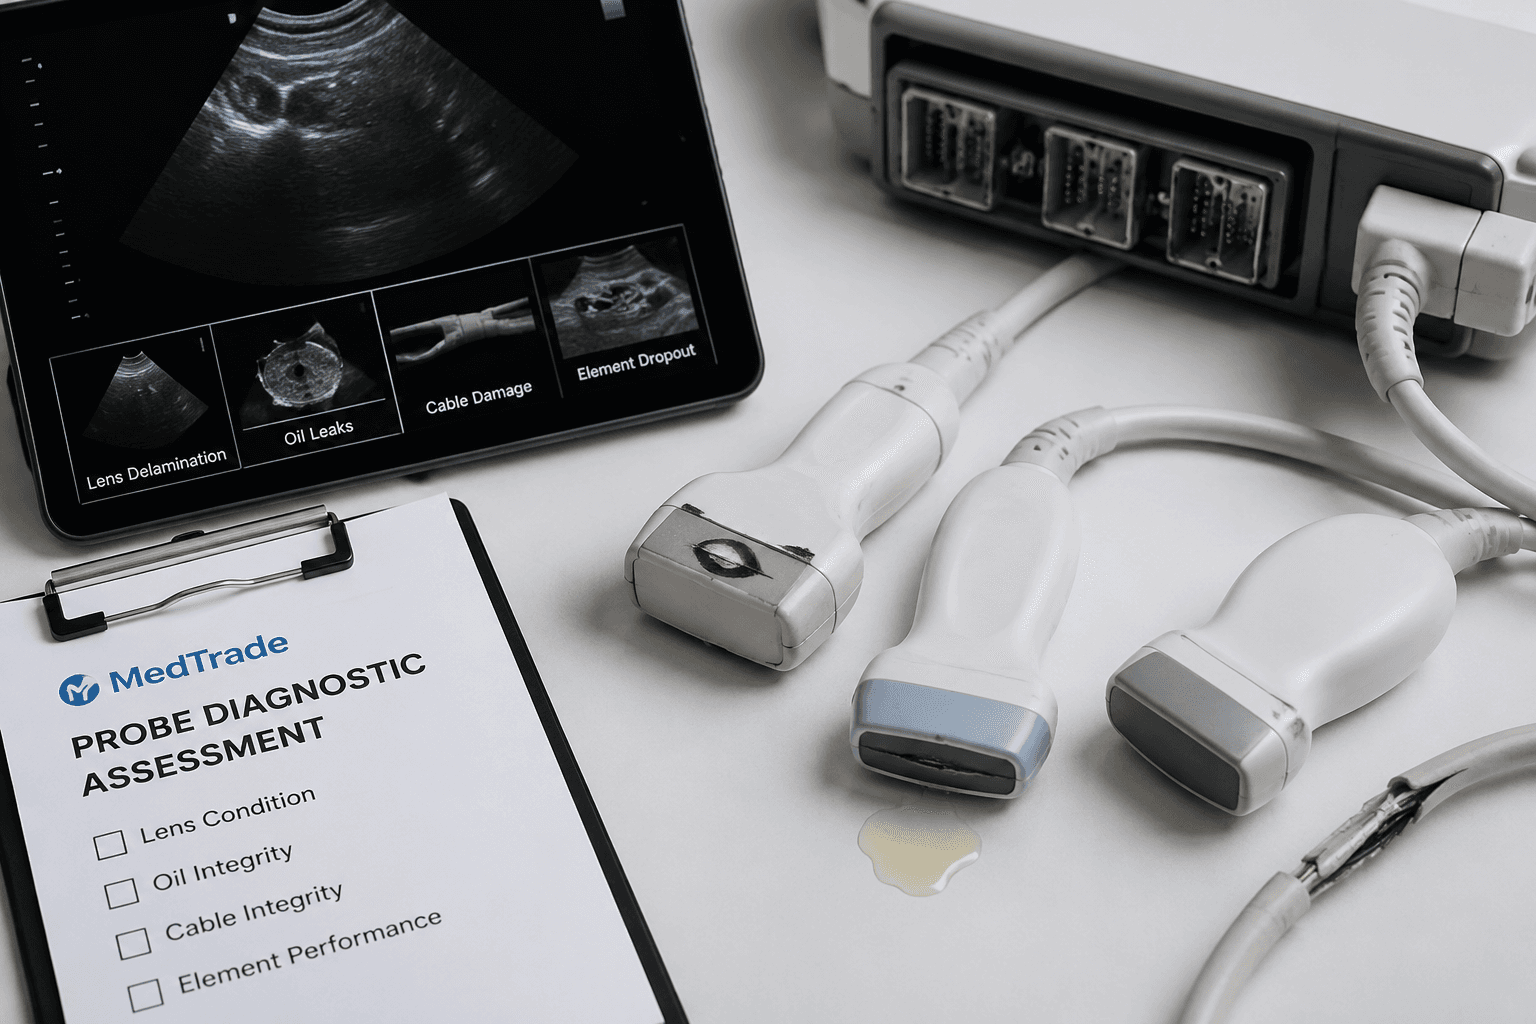
An ultrasound transducer doesn't pick a convenient time to fail. The Monday-morning echo shows random noise where there was a clean image last Friday. The intraoperative probe drops a black line across the screen mid-procedure. Thursday's scheduled PM reveals a bubble on the lens surface you swear wasn't there last month.
The first question isn't "how much to fix it." It's "what's actually broken — and is this probe worth repairing?"
This article follows the workflow a biomed engineer actually uses: identify the failure mode → run your own diagnostics → decide repair or replace → see what real repair cases look like → and then, know where to find repair services and replacement probes you can act on.
The 5 Most Common Ultrasound Transducer Failure Modes — and How to Spot Yours
A transducer is precision-built and physically vulnerable. Daily disinfection, repeated cable flexing, the occasional bump against a bed rail — the odds of encountering at least one failure mode within five years are far higher than for the ultrasound system itself. Understanding the physics behind each failure is the foundation for everything that follows.
Lens Delamination and Bubbles — the First Suspect When Your Image Goes Soft
The acoustic lens is the silicone rubber layer on the transducer face — the part that touches the patient. It's bonded to the matching layer beneath it with medical-grade adhesive. What kills that bond? Heat from high-level disinfection. Repeated mechanical pressure. And time.
Early delamination shows up as an image that's uniformly dimmer than it used to be — not a dark spot in one area, but the whole frame behind a veil. This happens because ultrasound waves reflect off the air gap created by the delamination, never reaching the patient. Late-stage delamination you can see with your eyes: one or more bubbles pushing up against the lens surface. By this point the sonographer is already telling you "the machine's off today."
Oil Leakage — If You See Fluid, Stop Using the Probe Immediately
Many transducers contain a layer of acoustic coupling oil — not lubricant, but a precisely matched fluid that fills the space between the piezoelectric elements and the acoustic lens. Its job: eliminate air gaps and maximize transmission efficiency.
The visual signature of an oil leak is unmistakable: a yellowish residue at the lens edge or where the cable enters the housing. Don't ignore it. Once enough oil has leaked, an air gap forms between the crystal array and the lens, and image sensitivity drops off a cliff. Oil leaks rarely happen in isolation — they usually come with a lens seal failure or a hairline crack in the housing.
⚠️ Watch Out: Stop using a leaking probe the moment you spot fluid. Continuing to scan doesn't just produce unreliable images — it lets coupling gel seep in through the crack, turning a "replace the seal" problem into a "replace the entire transducer assembly" problem.
Cable Damage and Shield Failure — the Real Reason Behind Intermittent Noise
An ultrasound probe cable isn't ordinary wire. Inside that jacket are 64 to 192 hair-thin coaxial signal lines, each wrapped in a braided conductive shield that blocks external electromagnetic interference. Repeated flexing, coiling too tight, getting run over by a cart wheel — the shielding fatigues and fractures over time.
The telltale sign: noise appears at specific bend angles. Tilt the cable one way and the image sparkles with static. Straighten it out and the image cleans up. That's the shield gap opening and closing. If the signal wire itself were broken, you'd get a dead channel, not intermittent noise. Many biomed teams learn this one the hard way: swap the cable first, don't tear into the system.
Element Dropout — When Dead Zones Appear in the Image
The piezoelectric crystal array is the heart of the transducer. A standard linear-array probe packs 128 individual elements, each converting electrical pulses to sound waves and back. Age, impact, moisture ingress — anything that kills a crystal element shows up on screen as one or more fixed vertical dark lines. Fixed is the diagnostic word: the dark line stays in the same position no matter how you move the probe, because it corresponds to a dead element position, not to tissue anatomy.
One or two edge elements dropping out? Most clinical scenarios tolerate that. But lose three or more consecutive elements in the center of the array, and the probe is clinically unusable. You're no longer asking "can we work around this" — you're asking "repair or replace."
Connector Pin Damage — the Plug-Unplug Lifespan Is Shorter Than You Think
Transducer connectors are typically rated for roughly 10,000 mating cycles. A busy ultrasound department plugs and unplugs each probe five to ten times a day — that's two to three years to the rated limit. Early pin damage manifests as intermittent "probe not recognized" errors that go away when you reseat the connector at a different angle. What's happening: pin contact resistance creeps up, and the system can't reliably read the probe ID.
Don't wait for a pin to snap off entirely. One broken pin lodged in the system port turns a connector replacement into a system motherboard repair.
Three Diagnostic Steps You Can Do Before Sending a Probe Out for Repair
Every biomed has lived through this: you send a probe in, the repair shop quotes $1,200, the probe comes back, and the problem is still there. The shop says it must be the system. These three steps exist so that before you pick up the phone, you know whether the fault is in the probe or the console.
Step 1: Visual Inspection — No Tools Required
Get the probe under good light and work through this checklist:
- Lens surface: Any bubbles? Cracks? Yellowing or whitening? Press gently on the lens with your finger — healthy silicone rubber has give. If it feels hard or brittle, the material has aged out.
- Housing seams: Any gaps or bulges? Pay particular attention to the seam between lens and handle — this is the most impact-vulnerable junction.
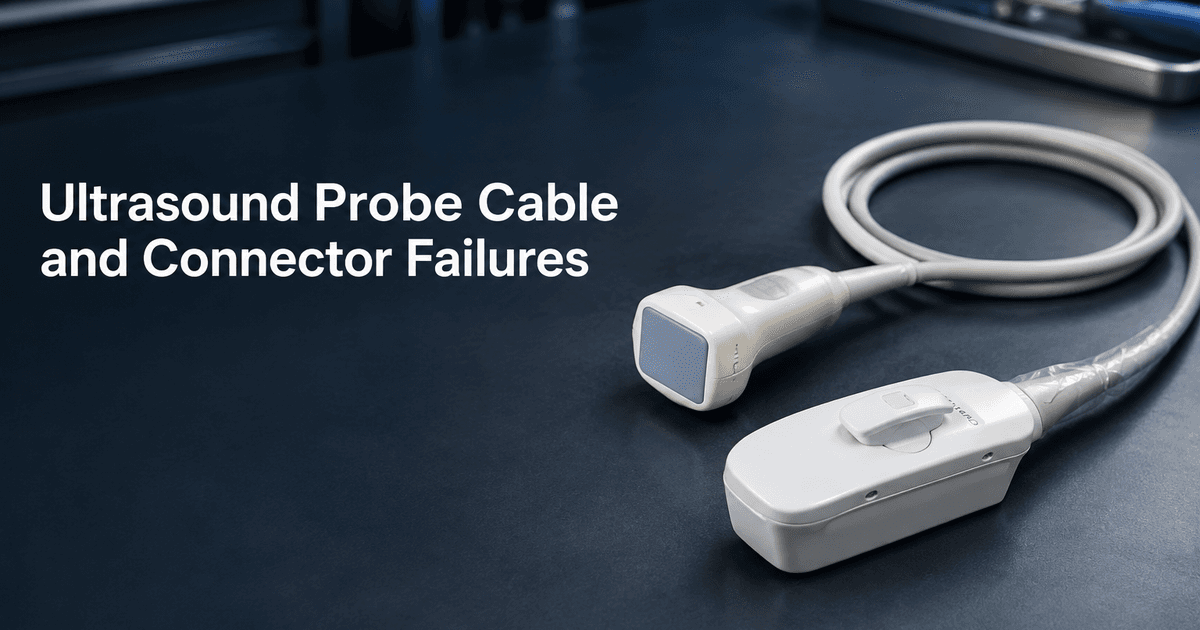
- Cable, end to end: Pinch the cable between your fingers and run it from strain relief to connector. A depression, a hard lump, or a bulge — each one marks a spot where internal insulation has broken down or shielding has fractured.
- Connector pins: Hold the connector up to the light. Every pin should be straight. Every pin surface should be bright, not dull or green-tinted. A magnifier helps if you have one.
Five minutes. Often finds the problem outright.
Step 2: Image Quality Test — a Water Tank Is Enough
You don't need a phantom every time. A clear container of degassed water (let it sit 30 minutes to shed bubbles), a rubber band, a coin as a reflector — that's a basic test target.
Uniformity check: Hold the probe directly above the coin and watch the bright reflection line. If the line dims or breaks at a fixed position — a position that stays put when you shift the probe — that's element dropout. If the dim zone moves with the probe, the issue is in the lens or matching layer, not the crystals.
Sensitivity check: Drop the gain until the coin reflection is barely visible, then increase imaging depth step by step and watch how fast the reflection fades. Abnormally fast roll-off compared to a same-model reference probe points to overall crystal aging or coupling oil loss.
Step 3: Electrical Testing — If You Have a Probe Tester
If your shop has a FirstCall, Ultra-Pro, BC Biomedical, or equivalent:
- Capacitance test: Measure each element individually. Normal range is typically 200–400 pF, brand- and model-dependent. A single element outside ±30% tolerance suggests an open circuit or a dying crystal. Multiple consecutive out-of-tolerance elements? That's a cable break or connector issue, not the crystals themselves.
- Impedance match: The probe's nominal impedance (usually 50 Ω or 75 Ω) against measured values tells you about overall electrical integrity.
💡 Key insight: If capacitance is low across all channels, the cable is the likely culprit, not the crystals. Cable replacement is a standalone job — far cheaper than replacing the entire probe.
When to Stop
Visual inspection + image test + electrical test. After these three steps you should know:
- Where the fault is (lens / cable / crystals / connector / housing seal)
- Whether it's a probe problem or a system problem
- Whether it's worth repairing
Stop here. Don't open the probe housing. Don't heat the lens to try de-bonding it yourself. Don't attempt to solder the cable. Inside the probe, the acoustic matching layers and crystal array are assembled in clean-room conditions. One disassembly outside that environment can introduce contamination and calibration drift that costs more to fix than the repair itself.
Repair or Replace? A Decision Framework That Saves Biomed Teams Money
You've got a GE C1-5 curved-array probe, four years old, two edge elements out, and the cable crackles at a certain angle. The department budget still has two quarters to go. Fix it or replace it?
The Three-Way Tradeoff: Residual Value × Repair Cost × Downtime
This is your decision table. Don't let the repair shop fill it in for you. Take the diagnostic data from the three-step check above, work through each row, and the answer usually surfaces on its own.
How Brand Affects the Repair-vs-Replace Equation
Different manufacturers have different repair ecosystems — and those differences directly shape your decision:
💡 A rule that holds up: Send inquiries to multiple shops — the OEM plus two or three third-party providers. Don't stop at the first quote. We've seen GE C1-5 repair quotes range from $600 to $2,200 for the same fault description. The spread isn't about who has better technicians — it's about who happens to have that specific compatible part on the shelf.
Refurbished Probes — the Third Option When New Isn't in the Budget
Can't swing a new probe, and repair doesn't make sense with multiple stacked faults — there's a middle path. A refurbished probe typically costs 30–50% of new, but you need to verify two things yourself:
- What's the actual condition? New? Pre-Owned? Refurbished? Send an Inquiry and ask directly: "What is the exact condition of this transducer? Is there an associated Repair Report?"
- Compatibility. Probe model and system software revision must match. A GE Logiq E9 running different software versions may support the same probe model differently — have the supplier confirm, don't assume.
The full selection framework for refurbished probes is covered in the Ultrasound Transducer Buying Guide. Here, the focus stays on the repair side.
Three Real Repair Reports, Decoded — What a Good Repair Actually Looks Like
A Repair Report on MedTrade is a structured, publicly accessible service record with an HMAC-signed link1. Each report includes brand, model, fault description, pre- and post-repair measurements, and photos. It's not a PDF scan — it's a living record any biomed can pull up before deciding whether to trust a repair shop with their probe.
Three published reports are on the platform now. Instead of listing numbers, we'll walk through each one and answer a single question: if a repair shop isn't willing to create a public Repair Report, why not?
💡 You can look up these reports yourself on the MedTrade Report Plaza. No login required. Public and searchable.
Samsung CV1-8A — Lens Damage with Oil Leakage
The fault: Lens damaged, oil leaking, image problem. The CV1-8A is a Samsung endocavity probe widely used in OB/GYN — known for crisp image quality, but the lens is relatively thin and vulnerable to impact damage or repeated high-temperature disinfection cycling.
The repair: Replace the acoustic lens assembly → re-inject coupling oil → seal test → uniformity and sensitivity tests passed. The probe returned to normal clinical operation.
What to take away: Lens damage and oil leakage travel together. When the lens cracks, the oil escapes; when the oil escapes, the image fails. But both faults share one critical feature: the crystal array is untouched. Healthy crystals = high repair value. This is exactly why the diagnostic steps earlier in this article tell you to confirm crystal health — if the crystals are shot, the repair equation flips.
GE RIC5-9-D — Oil Leak or Motor Problem
The fault: Oil-leaking or motor problem. The RIC5-9-D is a mechanical 3D endocavity probe for the GE Voluson series. Unlike a purely electronic probe, this one has a micro-motor inside that drives the crystal array through a sweep — adding one more failure point: the motor.
The repair: Disassemble and trace the oil leak source → determine motor assembly involvement → replace motor + re-inject oil + recalibrate. Probe returned to normal sweep function after repair.
What to take away: Mechanical 3D probes — GE RIC5-9-D, Philips V6-2 — inherently cost more to repair than purely electronic probes because of that wearable motor. On the repair-vs-replace decision table, a mechanical 3D probe's repair quote naturally pushes closer to the "replace" column. If your department has these probes, put them on a proactive life-cycle management schedule — don't wait for the motor to seize.
Philips EPIQ EL18-4 — Lens Bubble
The fault: Lens bubble. The EL18-4 is a PureWave linear-array probe for the Philips EPIQ platform, used for peripheral vascular and musculoskeletal imaging. PureWave technology uses a single-crystal piezoelectric material instead of conventional PZT ceramic — sensitivity is higher, but the bond between the acoustic lens and the single-crystal array is more temperature-sensitive. Lens bubbling is a common failure mode for this probe family.
The repair: Remove the damaged acoustic lens → bond a new lens → acoustic testing confirmed uniformity restored → seal. The probe returned to normal clinical use after repair.
What to take away: A lens bubble does not mean the crystals are dead. The EL18-4's PureWave crystals far outlast the lens — the bubble sits on the lens alone. Replace the lens and the probe is back. This is why diagnosis before decision matters: plenty of failures that look catastrophic (a bubble on the lens surface) are actually straightforward, cost-contained repairs.
What Three Reports Teach You — Signals and Red Flags
A pattern emerges across these three cases: a repair shop that publicly documents its work is sending a signal. A public Repair Report means the fault description, the repair performed, and the before-and-after measurements are all there for the next hospital's biomed to find — before they decide whether to trust that shop with their probe.
Flip it around: if your repair shop can't produce any verifiable service record — just a quote on letterhead — that doesn't automatically mean they're unqualified. But it does mean your basis for deciding has shrunk from "here's what this shop actually did for another hospital with the same probe and the same fault type" to "I'm taking their word for it."
How to Find Transducer Repair Services and Replacement Probes on MedTrade
Everything up to this point has answered "what's wrong and what should I do about it." What follows answers "where to act" — CTAs that land naturally after the moment of recognition.
Search for Repair Services → Check Verified Credentials → Check Repair Reports → Send an Inquiry
The path to finding a repair service on MedTrade:
- Go to the supplier directory and filter by brand — GE, Philips, Samsung, Siemens, or whichever brand you need
- Narrow to suppliers that carry the Verified Supplier badge — a green shield icon that means the supplier's business credentials, licenses, and certifications have been manually reviewed by platform administrators
- On the supplier's profile, look for public Repair Reports — what equipment have they repaired on the platform? What were the results? This isn't a platform certification, but it's more useful than one: it's a publicly visible trail of actual repair work
- Select two or three suppliers and send an Inquiry. Include the diagnostic information you gathered from the three-step check — fault type, probe brand and model, capacitance test results if you have them. The more specific your inquiry, the more precise the quote you'll get back
💡 Efficiency tip: Send inquiries to two or three suppliers at once and compare. The biggest variable in repair pricing is "who has the compatible part on the shelf right now." Multiple quotes are the most direct way to save money.
Search for a Replacement Probe → Match by Model and Application → Compare Quotes
If the decision framework in the earlier section landed you on the "replace" side:
- Browse the Ultrasound Transducer product category — filter by brand and model
- Pay close attention to the exact model suffix. GE C1-5 and GE C1-5-D are not the same probe — suffix letters encode connector type and frequency range. Match the full model string to your system
- When you find a match, send an Inquiry and ask directly: "What is the exact condition of this transducer — New, Pre-Owned, or Refurbished? Is there a Repair Report available?"2
- Compare two or three quotes before deciding
If You're a Repair Service Provider — A Repair Report Is Your Best Credential
This article is written for biomed engineers and hospital equipment managers. But if you run a third-party ultrasound repair business: your next customer is searching for "why is my probe image breaking up" and landing on this article. When they finish reading, they'll head to the MedTrade Report Plaza and search for probes you've repaired.
If nothing shows up under your name — they won't send an Inquiry. Creating a report takes filling out a structured form: fault description, repair performed, before-and-after measurements, photos. Once published, it becomes a permanent, publicly verifiable trust asset on the platform. Create your first Repair Report.
OEM vs Third-Party Repair — What the Industry Won't Tell You About Cost
This is a conversation that happens in biomed team meetings but rarely in public articles. Let's set the boundary first: we are not making a quality judgment. We're laying out the facts and hidden costs on both sides. The decision is yours.
The Hidden Costs of OEM Repair
OEM repair advantages — genuine parts, factory calibration equipment, manufacturer quality control — are public information and don't need repeating. What we're looking at are four cost items that appear on the repair quote but don't appear in the sales deck:
⚠️ Watch Out: These four items don't apply universally to every OEM — repair policies differ significantly across manufacturers. The point is: ask directly in your Inquiry. "Do you replace the individual failed part or the entire assembly? What's the estimated turnaround? Is the refurbished unit OEM-refurbished or third-party-refurbished?"
How ISO 13485 Stacks Up Against OEM Quality Systems
ISO 13485 isn't a repair quality guarantee. What it guarantees is one thing: this repair shop operates under a documented, traceable quality management system that a third-party auditor has verified. The process doesn't guarantee any single repair outcome. But it does mean:
- Every repair step has a record
- Parts are traceable to source
- Calibration equipment has a defined recalibration schedule
- Non-conforming work has an isolation and corrective-action process
An independent ultrasound repair shop holding ISO 13485 operates at the same process-formality level as an OEM's internal repair center. The difference comes down to whether the parts are OEM-genuine or compatible equivalents — and whether calibration uses the OEM's own phantoms. You can ask both questions in your Inquiry.
Three Steps to Verify Any Third-Party Repair Shop
If you choose third-party repair, these three steps cost 15 minutes and save you dozens of hours in back-and-forth later:
- Check their Repair Report history. Search the MedTrade Report Plaza for the shop's name. How many devices have they repaired? Have they repaired your specific probe model before? Are the before-and-after measurements clearly listed in the report?
- Check for the Verified Supplier badge. On their supplier profile, look for the green shield. This means a platform administrator has reviewed their business credentials. No badge doesn't mean unreliable — but a badge means the review has already been done once.
- Ask three questions in your Inquiry. ① "How many of this exact probe model have you repaired?" ② "Do you use OEM-genuine parts or compatible equivalents — and are the parts traceable to source?" ③ "What form does the repair record take afterward — do you publish a Repair Report I can access?"
Search for ultrasound transducer repair services on MedTrade. Browse supplier profiles. Check their Repair Reports. Send an Inquiry and compare quotes — all in one place.