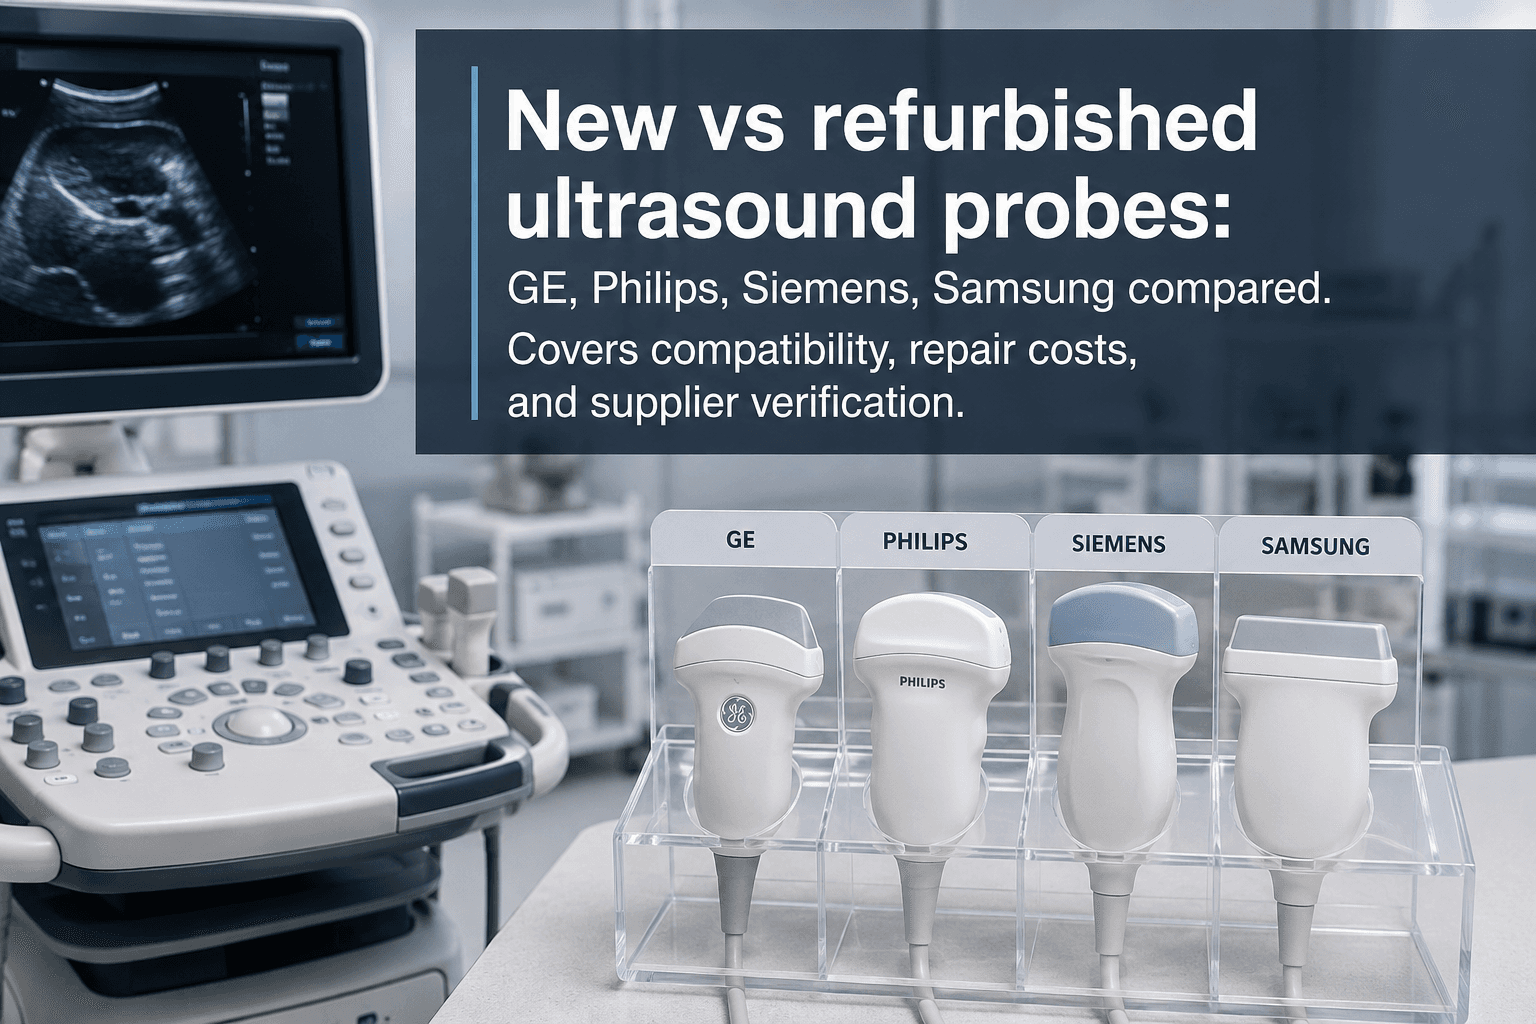
A single transducer can cost 30% to 50% of your ultrasound system. Yet most procurement decisions go like this: weeks comparing machine specs, five minutes picking the probe the supplier recommended. The result? A transducer that isn't compatible with your machine, a lens that starts bubbling after six months, or the same model sitting on another supplier's listing for 40% less.
This guide doesn't sell any brand. It does three things. First, break down the real cost differences between new, refurbished, and used transducers — and where the hidden risks live. Second, walk through the four specs that actually determine whether a probe works for your clinical load. Third, give you a concrete process for verifying a supplier — with each step tied to something you can check on MedTrade right now.
New vs Refurbished vs Used Ultrasound Transducers — What's the Real Difference in 2026?
An ultrasound transducer is not a durable good. It's a consumable that degrades with every wipe-down, every cable bend, every accidental bump against the bed rail. "New," "refurbished," and "used" are not three clean boxes — they're points on a wear spectrum.
A Table That Actually Compares What Matters
⚠️ Watch Out: "Refurbished" has no universal definition in this industry. One supplier's refurbished means the lens was replaced, the array was re-calibrated, and every element passed electrical testing. Another's means someone wiped it down with alcohol. When searching on MedTrade, don't stop at the "Refurbished" label in the title — scroll down and check whether this supplier has published a Repair Report for the same probe model. If they have, you can see exactly what kind of work they actually do. If they haven't, ask.
Why Two Listings for the Same Probe Model Can Be 40% Apart
Search for a GE RIC5-9-D on MedTrade and you might see multiple suppliers, with price gaps of 40% or more. Three variables drive that gap — and you can ask about all three:
- What lens was used for the replacement? OEM lenses cost 2–3× more than third-party alternatives, but third-party lenses may not match the original's acoustic properties — specifically attenuation coefficient and focal consistency
- How many layers were replaced? Some refurb jobs only replace the outer acoustic lens. The matching layer underneath gets left alone — which can shift the probe's center frequency slightly
- Where's the test report? Post-refurb electrical testing (capacitance, impedance matching) and acoustic testing (beam profile) — is there a record? Without one, "refurbished" and "cleaned used" are indistinguishable
How to Judge a Probe from Its Photos
Open the product images and look at three things:
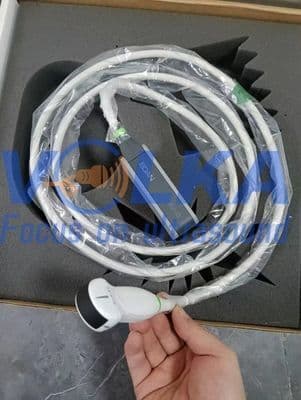
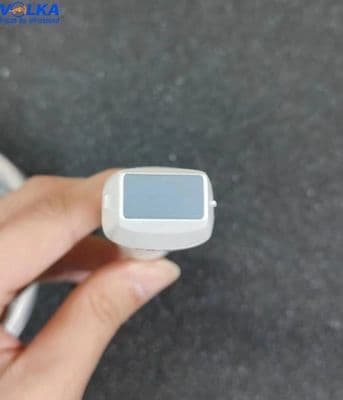
- The acoustic lens surface: Bubbles, cracks, or uneven discoloration means the lens is aging. A healthy lens has uniform color and a smooth surface
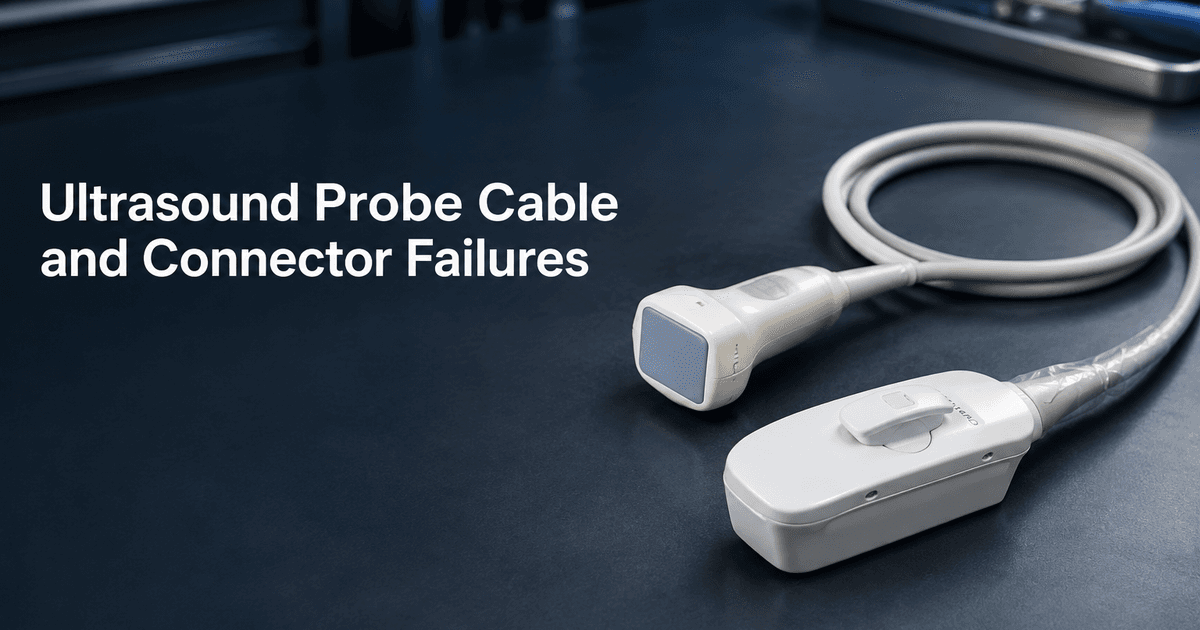
- The strain relief (where the cable meets the probe housing): If this rubber boot is cracked or hardened, the internal shielding may already be compromised — expect image noise, soon
- The connector pins: Bent pins, corrosion, or cracks in the plastic around the pins mean unreliable contact. Signal drops. Skip it.
Brand-by-Brand Comparison: GE vs Philips vs Siemens vs Samsung vs Specialty Brands
The Compatibility Trap — and the One Document That Saves You
This is the single most expensive mistake in transducer procurement. Ultrasound probes are not USB devices — same brand does not mean same connector.
Different platform generations within the same manufacturer can use entirely different probe interfaces:
- GE Logiq probes generally do not work on GE Voluson systems
- Philips EPIQ transducers are not compatible with Philips iU22 ports
- Siemens ACUSON Sequoia probe protocols are not interchangeable with ACUSON X-series systems
Before you pay, get a written Compatibility List from the supplier — a document that states, in black and white, exactly which system models and software versions this probe works with. No Compatibility List, no commitment.
GE vs Philips vs Siemens vs Samsung: What Matters for Procurement
💡 Expert Insight: If your system is a GE, matching it with a GE probe is the path of least resistance. But if your budget is tight and your system's probe interface is relatively open — some Toshiba/Canon platforms, for instance — a compatible third-party probe with the same spec profile may deliver comparable performance. The condition: the supplier provides a written compatibility commitment and pre-shipment test data.
When a Specialty Brand Makes More Sense
Toshiba (Canon), Hitachi, Sonoscape, and Aloka probes appear less frequently on secondary markets than the Big Three — but when they do, prices run 20–30% lower, and for specific clinical applications (Sonoscape for obstetrics, Hitachi for intraoperative), the performance is competitive.
The decision logic: if your system is already from a specialty brand — or is an older model from a major brand — pairing it with a same-brand probe from that specialty manufacturer often works better than hunting for a rare OEM probe. Compatibility is deterministic, prices are lower, and suppliers are more willing to offer warranty terms on equipment they know well.
Search for ultrasound transducers on MedTrade →
How to Read a Transducer Spec Sheet — Frequency, Field of View, Footprint, and Compatibility
Frequency Is Not "Higher Is Better" — Match It to Your Clinical Load
Center frequency determines the fundamental trade-off between penetration depth and resolution:
Low-frequency probes go deep but can't resolve fine detail. High-frequency probes give you sharp images close to the surface but can't penetrate. A 12 MHz linear probe is useless for a standard abdominal exam. A 5 MHz convex won't show you vessel wall morphology. Start with the exam types you most frequently perform, then pick the frequency range, then compare brands and models.
For breast imaging specifically, ultrasound serves as a critical complement to mammography — particularly for women with dense breast tissue where mammography alone misses up to 40% of cancers. If you're procuring across modalities, our mammography screening technology guide covers the full imaging chain.
Field of View and Footprint — the Trade-off That Affects Every Scan
These two parameters pull against each other:
- Large FOV + large footprint: More image information per sweep, but can't fit into narrow acoustic windows like intercostal spaces or neonatal fontanelles
- Small FOV + small footprint: Maneuverable and flexible — at the cost of scanning only a small area at a time, which increases the chance of missing something
- Endocavitary probes: FOV of 130–180°, minimal footprint. Designed entirely around the need to enter a narrow cavity — scanning area is sacrificed by design
The right probe isn't the one with the best specs — it's the one whose FOV/footprint profile matches your clinical scenario. A cardiologist and an MSK sonographer need fundamentally different probes, and most buying guides blur this distinction.
The Compatibility List Rule, Restated
⚠️ Watch Out: A probe's physical connector — pin count, pin layout, communication protocol — can be completely different between system generations from the same manufacturer. "Same brand, older probe, newer machine" is a routine source of failed purchases. Never assume compatibility. If the supplier won't put it in writing, the conversation stops there.
The Hidden Cost of Ultrasound Probes — Repair, Lens Damage, and When to Replace
Common Failure Modes and What They Cost to Fix
The repair-or-replace formula: repair cost < 50% of a used replacement of the same model → repair. Repair cost > 60% → replace. In the 50–60% zone, ask the supplier for pre- and post-repair test data before deciding.
What a Repair Report Actually Tells You
A MedTrade Repair Report is not a PDF attachment. It's a public web page with a server-signed URL — the link itself carries an HMAC-SHA256 signature (a cryptographic hash generated with a 32-byte key) that ties it to a specific supplier and a specific publication timestamp 2.
Why does this format matter for you as a buyer? Open a publicly available Repair Report for a GE RIC5-9-D 3 and here's what you can actually see: the reported fault (oil leak / motor problem), pre- and post-repair measurement values (capacitance, impedance, center frequency shift), the repair date, the technician's name, and the supplier's name with their Verified status. You know this supplier has repaired this model before. You can see the measurements they considered acceptable. You're not relying on a forwarded PDF that could have been altered five minutes ago in any editor.
Open another — this one for a Samsung-Medison CV1-8A 3. Fault: lens damaged, leaking oil, image problem. Post-repair capacitance and impedance values are back within the manufacturer's tolerance range. As a buyer evaluating a used CV1-8A, this tells you two things immediately: first, lens damage is a known failure mode for this model; second, at least one supplier on the platform has demonstrated they can fix it.
💡 Related: For a deeper look at how the Repair Report system works — signed URLs, QR codes, and why the format matters more than a PDF attachment — read our overview of MedTrade Reports.
No Public Repair Record — You're Flying Blind
If a supplier lists probes but has never published a Repair Report, that doesn't mean they're unreliable. It means you have no independent signal about what they've repaired or how well. You're taking their word for "we tested it."
In your inquiry, add one sentence: "Could you share a recent repair report for this model, or a pre-shipment test report with capacitance and impedance values?" If they hesitate or say they did the testing but didn't document it — price your expectations accordingly.
How to Verify a Transducer Supplier on MedTrade — Credentials, Repair Reports, and the Inquiry Process
What the Green Verified Shield Actually Checks
On a MedTrade supplier profile, the green Verified Supplier badge means the supplier uploaded credential documents — international or national quality certifications (such as ISO 13485, CE marking, FDA registration, or equivalent) — and MedTrade staff reviewed them manually 4.
What it verifies: the supplier's identity and business credentials are real and have been checked. What it does not verify: equipment quality, refurbishment standards, or shipping speed.
The Verified shield is a starting point, not a conclusion. It tells you this supplier cleared the credential check — now you do your own.
Three Things to Check Before You Send an Inquiry
① Repair Report History
Go to the Repair Report Plaza and search for the probe model you're evaluating. Report found → open it, read the fault description and post-repair data, then click through to the supplier's profile. No report found → not necessarily a red flag, but you should ask one more question in your inquiry.
② Credential Documents
Does the supplier's profile have a Credentials section? quality certifications and registration numbers listed — such as ISO 13485, CE marking, FDA registration, or equivalent national credentials? You can ask the supplier for the certificate number and verify it on the issuing body's website. A supplier who's reluctant to share this — that's a signal.
③ Product Page Information Density
A credible probe listing should have at minimum: the full model number, a written compatibility list for host systems, the probe condition (new / refurbished / used), and clear, multi-angle photos — acoustic lens close-up, connector pin close-up, full cable view. If the listing has one blurry photo and the words "Good Condition" — there isn't enough information density for you to make even a basic assessment.
Send Inquiries to 2–3 Suppliers — Not Just One
This is the structural advantage of MedTrade as an inquiry platform. You're not locked into a one-to-one negotiation. For the same probe model, you can send inquiries to two or three suppliers simultaneously, compare their response speed, quote differences, and whether they proactively provide test reports or compatibility documentation.
💡 Expert Insight: If one quote is significantly lower than the other two — that's not necessarily a bargain. In your inquiry, ask directly: "What steps does your refurbishment process include? Was the lens replaced? What lens components were used? Do you have a test report?" The quality and speed of a supplier's response often tells you more than the price tag.
Browse verified suppliers on MedTrade →
The First Year After Purchase — Hidden Maintenance Costs and Three Habits That Extend Probe Life
80% of Premature Probe Failure Comes from Daily Habits
Replacing a transducer costs $3,000 to $12,000. Extending its life costs nothing:
- Lens cleaning: After every use, clean the lens surface with the manufacturer-recommended cleaning solution and a lint-free wipe. Avoid repeated use of high-alcohol disinfectants — they accelerate silicone rubber lens aging
- Cable storage: Don't coil the cable tighter than a 10 cm diameter. Tighter coils cause the internal shielding to fatigue and fracture. Use a figure-eight or loose loop wrap
- Connector handling: Grip the connector housing when plugging and unplugging — never pull on the cable. Bending the pins or cracking the connector housing is a $200–$600 repair that takes five careless seconds to cause
When to Buy a Second Probe — and What Kind
If you perform the same exam type daily and only have one primary transducer — start looking for a second one the moment the current probe's lens shows early bubbling, not after it fails entirely. The window for a planned replacement is when the probe still has repair value, not when it's dead.
Second probe strategy:
- Identical same-model backup: Direct swap, zero training cost. Best for high-volume departments
- Same brand, different type: Expands your exam coverage — add a high-frequency linear array to your existing convex-only setup
- Compatible third-party alternative: Lower price point, same performance envelope — provided the written Compatibility List is in your hand
Find a Probe Repair Service on MedTrade
When your probe develops a fault, your first move shouldn't be a generic search for "ultrasound probe repair." Search the Transducer category on MedTrade and switch to the Services tab — there are probe repair suppliers on the platform who publish their service listings along with Repair Reports for the models they work on 3.
A service listing shows you: which brands and models they repair, the scope of work (lens replacement / cable replacement / motor rebuild / electrical calibration), and their Verified Supplier status.
Same process as buying: send an inquiry → describe the fault → request a quote → compare responses. You're not signing an exclusive agreement. Inquiry is free. Decide after you see the numbers.
Search for ultrasound transducers and send your first inquiry →